What makes a smoky eye "daytime"
The difference between a daytime smoky eye and a nighttime one isn't really about technique — it's about three specific choices that change the impression entirely.
1. Color temperature and depth
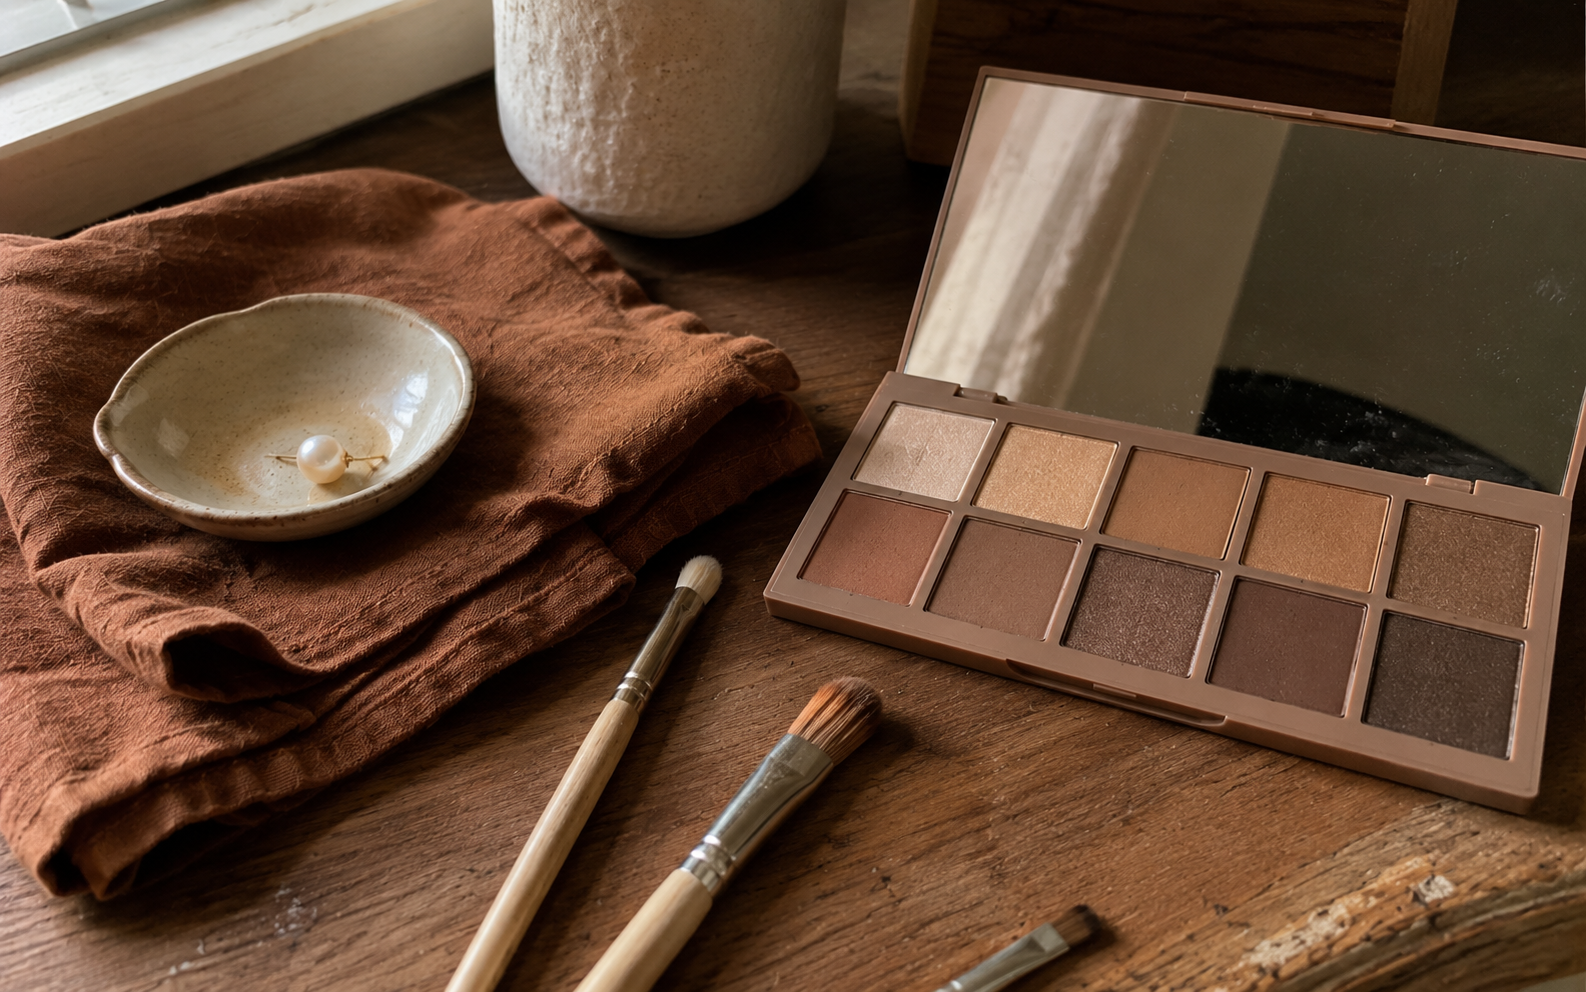
Nighttime smoky eyes use blacks, charcoals, deep navies, dark plums, or smoky grays — colors that absorb a lot of light and create high contrast. Daytime versions use warm browns, taupes, soft bronzes, and muted mauves — colors that have enough depth to define the eye without overwhelming it in natural light.
2. Placement boundary
Nighttime smoky eyes blend the dark color up past the crease toward the brow bone, sometimes covering most of the moving lid plus the area above it. Daytime versions keep the smoky color at or just slightly above the crease, leaving more of the brow bone visible. This is the single biggest visual difference and what makes daytime versions feel professional rather than dramatic.
3. Finish
Nighttime smoky eyes often feature shimmer, metallic, or glitter finishes for catch-the-light glamour. Daytime versions stay primarily in matte and satin finishes, with maybe one small shimmer accent in the inner corner or center of the lid. Glitter reads as evening regardless of how subtle it is in concept.
The unspoken fourth element: how much product you use. A daytime smoky eye uses noticeably less eyeshadow than its evening counterpart. Tap off your brush 2–3 times before each application. You can always build up; you can rarely take down without starting over.
Tools and products you actually need
The tutorial works with whatever brushes and shadows you already own. But if you're starting from scratch, here's the genuinely minimum kit:
Brushes (4 total)
- A medium flat shader brush for laying down color on the lid
- A medium fluffy crease brush for blending in the crease
- A small precision brush for the outer V and lining
- A clean fluffy blending brush kept clean for diffusing edges
Real Techniques, Morphe, and Sigma all make affordable brush sets that include all four. You don't need expensive brushes for daytime looks — synthetic brushes from drugstore brands work fine.
Eyeshadow (3–4 shades total)
You need:
- A light matte shade close to your skin tone — for highlighting under the brow and inner corner
- A medium warm transition shade 1–2 levels darker than your skin — for the crease
- A medium-dark matte shade — warm brown for most people — for definition
- Optional: a deeper matte shade for the outer V if you want more drama
A simple neutral palette like Maybelline The Nudes, NYX Ultimate Warm Neutrals, Anastasia Soft Glam, or Charlotte Tilbury Pillow Talk contains all of these shades.
Other essentials
- Eye primer or concealer applied to the lid (prevents migration and creasing)
- Brown eyeliner — pencil or gel format
- Mascara — a defining mascara, not necessarily a volumizing one
- Cotton swabs for cleanup
Choosing the right colors for your eye color and skin tone
This is the most-skipped step in eye makeup advice. The right color palette flatters your specific eye color dramatically — and there's real color theory behind why.
By eye color
| Eye color | Most flattering shades | Why |
|---|---|---|
| Blue eyes | Warm browns, terracotta, copper, bronze, rust | Warm tones bring out the cool blue (complementary contrast) |
| Green eyes | Plum, mauve, warm brown, copper, burgundy | Red-based tones intensify green |
| Hazel eyes | Almost any warm shade — bronze, brown, gold, plum | Hazel's mixed undertones are versatile |
| Brown eyes | Almost anything, especially warm taupes, golds, bronzes, deep plums | Brown reads neutrally; can pull off both warm and cool |
| Gray eyes | Soft pinks, mauves, warm browns, taupes | Cool tones accentuate gray's neutrality |
By skin tone
Skin tone affects depth choice more than hue choice:
- Fair skin tones — choose softer mid-tones rather than very deep colors, which can look heavy. A "smoky" brown is darker beige territory.
- Medium skin tones — most versatile range. Warm browns, taupes, and bronzes all flatter.
- Deep skin tones — choose richer, more saturated shades that show against the skin. Pale browns can disappear; warm chocolates and rich bronzes have more presence.
When in doubt, choose colors 1 shade deeper than what you'd pick instinctively. The most common daytime smoky eye mistake is using shades that are too light to actually create definition — the effect just looks like vaguely tired eyes rather than intentional makeup.
The 7-step tutorial
Each step takes about a minute once you've practiced. Total time with experience: 5–8 minutes.
Step 1: Prime the lid
Apply a thin layer of eye primer or concealer over the entire lid up to the brow bone. Set with a tiny bit of translucent powder if you have oily lids.
This step is non-negotiable. Skipping it is the leading cause of eyeshadow migrating into the crease or fading completely by 2pm. Eye primer is one of the few products where there's a real, visible difference between primed and unprimed.
Step 2: Apply transition shade in the crease
Using the fluffy crease brush, sweep a medium warm transition shade (about 1–2 shades darker than your skin tone) across the crease in soft windshield-wiper motions.
Goal: soft color that defines where the eye bones are. The shade should be visible but not heavy. Tap off the brush before each pass.
Step 3: Build medium tone on the outer lid
Using the flat shader brush, apply your medium warm brown shade to the outer half of the moving lid only — not the inner corner.
Place the color with patting motions on the lid first, then use small sweeping motions to soften the edge where it meets the inner lid. The inner half of the lid stays bare (or with just primer).
Step 4: Deepen the outer V
Using the small precision brush, place your deeper shade (or build up the medium shade with more pigment) in a small V-shape at the outer corner — where the upper lash line meets the outer crease.
This is the only "smoky" point in the look. Keep it concentrated — the color should be densest at the outer corner and fade toward the center of the lid.
Step 5: Blend, blend, blend
Using a clean fluffy brush (the one you haven't used for the smoky shade), gently blend everything in soft circular motions. The goal is to eliminate any visible lines or hard edges between shades.
Crucial: stop blending before it feels finished. Over-blending muddies all colors into one washed-out mess. The look should still have visible depth at the outer V; if everything is the same color across the eye, you've gone too far.
Step 6: Line the upper lash line
Using a brown pencil or gel liner, draw a soft line along the upper lash line from the inner corner to the outer corner. Don't extend into a wing — daytime smoky eyes work with subtle definition rather than dramatic lines.
If the line looks too harsh, gently smudge it with the precision brush or a cotton swab. Brown reads softer than black for daytime; save eyeliner-as-statement for evening looks.
Step 7: Mascara (and optional inner corner highlight)
Apply mascara generously to the upper lashes. One coat or two depending on how dramatic you want the eyes to read.
Optional finish: a small amount of light shimmer or matte highlight in the inner corner of the eye opens up the look and balances the depth at the outer V. Use the precision brush or a clean finger.
Skip mascara on the bottom lashes for a softer effect, or apply just a touch for definition.
That's the full method. You've created depth at the outer V, neutral warm tone across the lid, soft definition at the lash line, and lifted brightness at the inner corner — the four elements that define a wearable smoky eye.
Three variations for different occasions
The base technique stays the same; small tweaks adapt it to different settings.
Office-appropriate (most subtle)
- Skip Step 4 (the deeper outer V) entirely. The transition and medium shade alone create plenty of definition.
- Use a beige-brown rather than chocolate-brown for the lid color.
- Skip eyeliner — let the lash line do the work with just mascara.
- Result: softly defined eyes that read as "polished and rested" rather than "I'm wearing makeup."
Brunch / weekend (the standard)
Follow the 7-step tutorial as written. This is the balanced version that works for most daytime occasions.
Day-to-night transition
- Start with the brunch version
- Before your evening event, deepen the outer V with one extra pat of darker color
- Add a small amount of shimmer to the center of the lid
- Extend the eyeliner slightly past the outer corner for soft definition
- Optional: add a thin line of brown or charcoal liner to the lower lash line, smudged with a brush
Common mistakes and quick fixes
Patterns that derail this look more than anything else:
The look reads as evening instead of daytime
Likely causes: using black or charcoal instead of brown, extending color too high up toward the brow, or using shimmer too widely. Switch to warm browns, keep color below the orbital bone, and reserve shimmer for one small accent point.
Everything looks muddy
You've over-blended, or you used too many shades in close proximity. Solution: limit yourself to 3 shades, blend with a clean brush between each color, and stop blending sooner than feels right.
The shadows don't show up on my eyes
Either the shades are too light for your skin tone, or you're using too little product. Try going one shade darker than your instinct suggests, and don't tap off the brush quite as aggressively. Some people also need primer specifically because their lids absorb color quickly.
It looks heavy on the outer corner only
The deeper shade at Step 4 wasn't blended into the crease properly. Use a clean fluffy brush to soften the edge where the outer V meets the crease in small circular motions.
One eye doesn't match the other
Very common, even for experienced makeup users. Apply each step to both eyes before moving to the next step (instead of doing one eye completely before starting the other). Small differences are normal and rarely noticeable to anyone but you.
It creases by lunch
Skipping primer is the main cause. Setting with translucent powder over the primer helps. Using a primer specifically formulated for oily lids (like NYX Eyeshadow Base in white or beige) is the next step up.
Making it last all day
Wearable through a full workday or longer:
- Primer + powder layered approach — apply primer, then a tiny dusting of translucent powder, then begin eyeshadow. Locks the surface and reduces creasing.
- Cream as a base under powder — for extra-longevity, apply a cream eyeshadow in a similar tone first, set with powder eyeshadow on top. This builds significant staying power.
- Setting spray — a light mist after finishing makeup helps powder eyeshadows wear longer. Urban Decay All Nighter, e.l.f. Stay All Night, and MAC Fix+ are reliable options.
- Pencil-eyeliner before powder shadow — for the outer V, applying a brown pencil eyeliner first and then patting matching powder shadow over it creates much longer-lasting depth.
Troubleshooting by problem
| Problem | Most likely cause | Fix |
|---|---|---|
| Eyeshadow fallout under eyes | Too much product on the brush | Tap off more aggressively; apply concealer under eye AFTER eyeshadow, not before |
| Creased eyeshadow by midday | No primer, or too much moisturizer near the eye area | Use eye primer; let moisturizer fully absorb before makeup |
| Smoky color looks dirty | Cool-toned brown on warm complexion (or vice versa) | Match shadow undertone to your skin's warmth or coolness |
| Eyes look smaller than usual | Smoking too far into the inner corner | Keep inner corner light; concentrate depth at outer V only |
| Eyeshadow disappears within hours | Oily lids absorbing pigment | Cream base before powder; set primer with powder first |
| Look reads "tired" rather than "defined" | Too much darkness under the eye area | Skip lower lash line shadow; brighten inner corner |
| Looks like raccoon eyes by 3pm | Mascara transfer or lower lashline product | Switch to a tubing mascara; skip lower lashline shadow |
The bottom line: A daytime smoky eye is just an evening smoky eye with three changes — warm browns instead of blacks, color stopped at the crease instead of carried higher, and matte finishes instead of shimmer. Mastering it takes maybe five tries; once you've got the technique, the same look can be tweaked into office-appropriate or after-hours versions in seconds. The look's secret is restraint — the urge to add "just a bit more" is what pushes it from daytime to evening. Trust that less is genuinely more, blend less than you think you should, and finish before you're sure you're done.