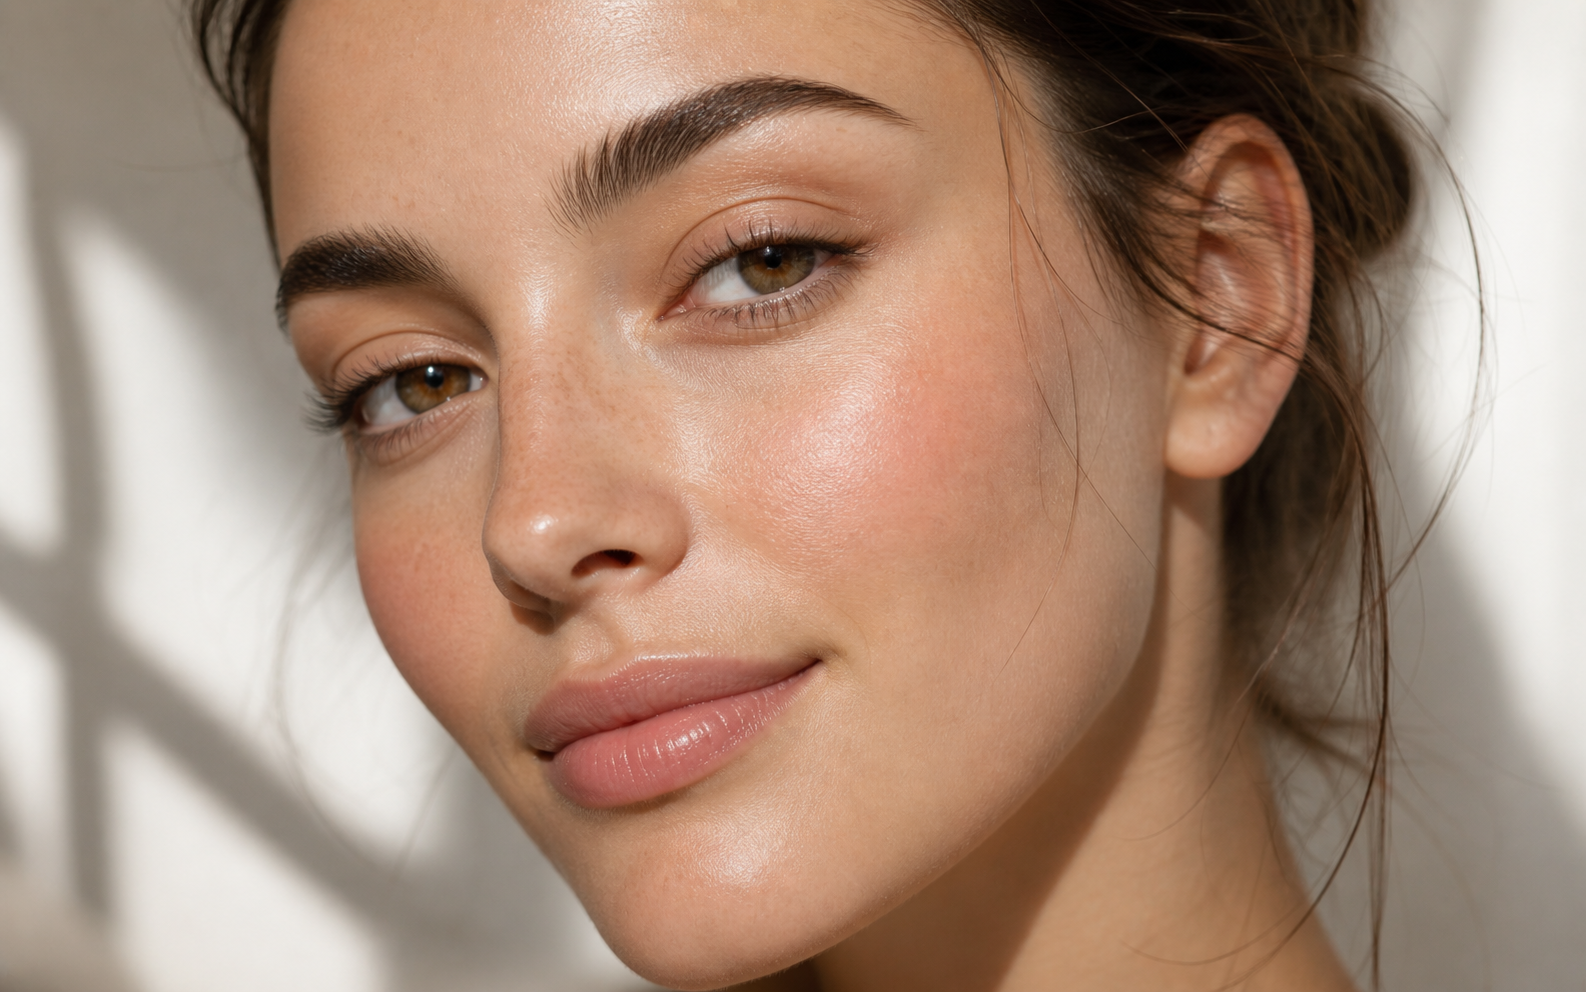
What makes the look actually work
"No-makeup makeup" gets misinterpreted constantly. People assume it means using less product. It doesn't. It means using different products — and applying them with one specific goal: enhancing what's there, not covering it.
The look has three principles, and they're all that matter:
1. Skin shows through. You should be able to see real skin texture beneath the makeup. Pores, faint freckles, a hint of natural unevenness — all of it stays visible. Heavy coverage is the enemy of this look.
2. Cream over powder, almost always. Cream products melt into skin and read as natural. Powder products sit on top and look like makeup, no matter how lightly you apply them.
3. Glow lives in the high points only. Forehead and t-zone stay matte. Cheekbones, brow bones, cupid's bow, and inner eye corners get strategic glow. The contrast is what creates the "lit from within" effect.
Get those three principles right and the look works regardless of which specific products you own.
Skin prep (the secret most tutorials skip)
The single biggest difference between a no-makeup look that works and one that looks patchy is skin prep. You can't fake the appearance of healthy skin with makeup alone — you have to start from a hydrated, smooth base.
The 60 seconds before you apply anything matter more than the products you use:
- Apply moisturizer to clean skin and let it absorb for 2–3 minutes. Skin tint slides off dry patches.
- Press a hydrating mist into your face with damp fingers. This plumps skin temporarily for a smoother makeup surface.
- Apply a hydrating primer (not a mattifying one) — focus on cheeks and forehead. Skip the t-zone for now.
For dry or mature skin, mix one drop of facial oil into your moisturizer before applying. The added lipids prevent skin tint from clinging to fine lines later.
The 7 steps, in order
Step 1: Sheer skin tint or tinted serum (90 seconds)
Skip foundation entirely. Use a sheer-coverage skin tint or tinted serum — anything with words like "tinted," "skin tint," "BB serum," or "blurring fluid" on the label.
Apply 2–3 drops to the back of your hand, then dot it across your face: forehead, cheeks, nose, chin. Blend with damp fingers or a damp beauty sponge. Push the product into the skin rather than dragging it across.
Don't aim for full coverage. Sheer to medium is the goal.
Step 2: Spot concealer, only where needed (60 seconds)
Pick a creamy concealer that's one shade lighter than your skin tone. Apply it only to:
- Active blemishes (use a precise brush)
- Visible dark circles under eyes (just the inner corners — not the whole under-eye)
- Any redness around the nose or chin
Tap, don't rub. Blend with a fingertip or sponge. Resist the urge to extend it across the whole under-eye — that creates a "concealer mask" effect that ruins the natural look.
Step 3: Cream blush on the apples (45 seconds)
This step transforms the look from "wearing a tinted moisturizer" to "looking awake and healthy."
Choose a cream or liquid blush in a peachy-pink, soft coral, or dusty rose. Smile to find the apples of your cheeks, then dab two small dots there. Blend with fingertips in circular motions, working slightly upward toward your temples.
For a flushed, natural look, the blush should be just slightly brighter than what you'd consider "barely there." Most people apply too little.
Step 4: Brow gel for set, natural brows (30 seconds)
Skip pencil and powder. Use a clear or tinted brow gel — the kind in a mascara-style tube — and brush brows upward and slightly outward. The gel sets the hairs in place and gives a fluffy, lifted appearance.
If your brows are sparse, use a tinted brow gel matched to your hair color. The wax-like formula deposits subtle pigment as it sets, filling small gaps without looking drawn-on.
Step 5: Tubing mascara, one coat only (45 seconds)
Tubing mascara is the secret to natural-looking lashes. Unlike traditional formulas, it forms tiny tubes around each lash — it lengthens and lifts without clumping or flaking.
Apply one coat to upper lashes, focusing on the outer corners for a subtle lift. Skip lower lashes entirely — they make the look too "made up."
If you don't own tubing mascara, just curl your lashes well with an eyelash curler and apply a single thin coat of any clean mascara. Curling alone makes a remarkable difference.
Step 6: Tinted lip balm or sheer lip oil (30 seconds)
No lipstick. No matte liquid lip. The point is to look freshly hydrated and naturally pigmented.
Choose a sheer pink, berry, or rose-tinted balm or lip oil. Apply directly from the tube or with a fingertip. The texture should be glossy or satin — never matte.
Step 7: Subtle highlight on the high points (30 seconds)
Use a liquid or cream highlighter (skip powder — it looks artificial in this context). Apply tiny dots to:
- The high points of cheekbones (just below the outer corner of each eye)
- The cupid's bow of your upper lip
- The inner corners of your eyes
- Optional: the bridge of your nose, very lightly
Tap to blend with a fingertip. Less is more — a faint sheen is the goal, not a noticeable shimmer.
The exact product types you need
You don't need specific brands — you need specific product categories. Here's the cheat sheet:
| Product | What to look for | What to avoid |
|---|---|---|
| Base | Skin tint, tinted serum, BB cream | Full-coverage foundation, mattifying foundation |
| Concealer | Creamy, slightly luminous formula | Heavy, matte, or full-coverage concealer |
| Blush | Cream, liquid, or stick formula | Powder blush (looks chalky on bare skin) |
| Brow product | Brow gel (clear or tinted) | Brow pencil, powder, pomade |
| Mascara | Tubing mascara, brown or black | Volumizing or fiber mascara |
| Lip product | Tinted balm or lip oil | Liquid lipstick, matte lipstick, dark lip liner |
| Highlighter | Liquid or cream, peachy/champagne | Powder highlighter, glittery formulas |
Common mistakes that ruin the look
The look fails for predictable reasons. Watch for these:
- Using full-coverage foundation. Even one thin layer is too much. The foundation lines around the jaw and forehead instantly read as "made up."
- Setting the whole face with powder. This kills the natural skin texture you worked to preserve. If you must set, do it only in the t-zone.
- Choosing the wrong blush placement. Cream blush goes on the apples — not under cheekbones. Sweeping it lower turns the look into a contoured one.
- Over-applying concealer. A V-shape of concealer under both eyes is the signature look of '90s makeup, not modern no-makeup makeup. Spot-treat only.
- Using powder highlighter. Powder catches light differently than skin's natural moisture. It creates a band of shimmer that reads as makeup, not glow.
- Skipping mascara entirely. Some tutorials say "don't wear mascara." They're wrong. One coat of natural mascara opens up the eye area without looking made up. Bare lashes can read as tired.
Variations for different occasions
Office / day version
Follow the steps exactly as above. Add an extra step at the end: a tiny dab of brow gel through the inner corners of brows for an "I had time this morning" polish.
Date night version
Two upgrades: add a single coat of mascara to lower lashes (just the outer corners), and use a slightly more pigmented lip oil — still glossy, just a touch deeper than your everyday balm.
Photography / video version
Add subtle definition: a soft pencil along the upper lash line, smudged with a finger or small brush. Set the t-zone lightly with translucent powder. Skip everything else — the camera amplifies makeup, so less is even more important here.
Hot weather / humid climate version
Replace the cream blush with a long-wear liquid blush, swap tinted balm for a stain (which won't melt), and skip the cream highlighter entirely — humidity turns it into shine. Use a setting spray instead of any powder.
The bottom line: No-makeup makeup is technique, not fewer products. Cream over powder, sheer over full coverage, glow only on the high points, and skin prep before everything. Master those four things and the look works in 7 minutes — every time, on any face.