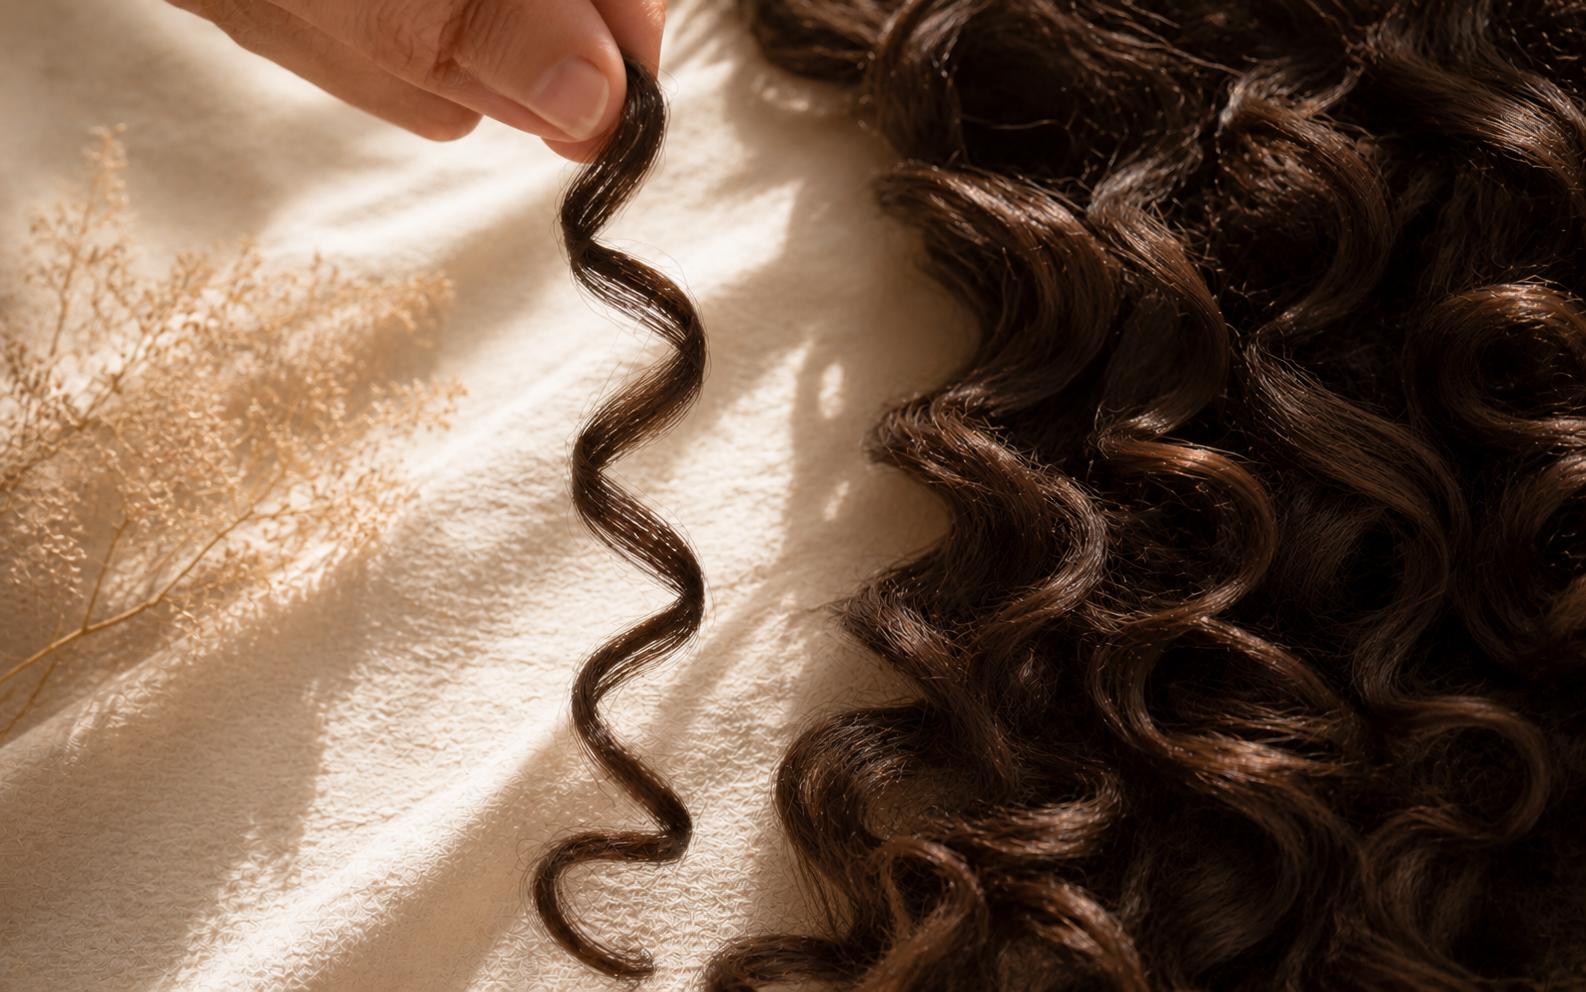
What the Curly Girl Method actually is
The Curly Girl Method (CGM) is a hair care system originally developed by hairstylist Lorraine Massey and published in her book Curly Girl: The Handbook. Despite the name, it works for any non-straight hair — wavy, curly, or coily.
The core insight is simple: most mainstream hair care is designed for straight hair and actively damages textured hair. Sulfates strip the natural oils that curls desperately need. Silicones coat the hair shaft and prevent moisture from getting in. Heat styling permanently alters the curl pattern. The standard "wash, blow-dry, brush" routine is the worst possible thing you can do to curly hair.
CGM replaces this with a system designed around how curly hair actually works:
- Cleanse gently or skip cleanser entirely (co-washing)
- Condition heavily and often
- Apply styling products to soaking-wet hair
- Define curls through scrunching, not combing
- Dry without disruption
The result, for most people, is hair that's softer, more defined, less frizzy, and noticeably curlier than they realized. Many people who thought they had wavy hair discover they have full curls hiding under decades of damage.
Why curly hair needs different care
Curly hair has a different physical structure from straight hair, and understanding this explains every CGM rule.
Curly hair has more curves and bends along the shaft. Each bend is a vulnerable point where the cuticle (the hair's outer protective layer) tends to lift. This makes curly hair structurally more prone to:
- Moisture loss (water escapes through lifted cuticles)
- Frizz (lifted cuticles catch on each other)
- Breakage (more weak points along the shaft)
- Tangling (curves catch on each other)
Natural oils struggle to travel down a curly hair shaft. On straight hair, sebum from the scalp slides down and coats the entire length. On curly hair, the oils only make it a few inches before the curves block them. This means the ends of curly hair are essentially always slightly dry — and need extra moisture from external sources.
The curl pattern itself is fragile. Heat, friction, and certain ingredients can permanently relax curls. Once you've heat-damaged a curl pattern, it doesn't fully come back. This is why CGM is so cautious about heat styling.
If you've never been able to figure out why "good" hair products felt drying or made your curls limp — this is why. Most "moisturizing" shampoos still contain sulfates that strip curl-essential oils. Most "smoothing" serums contain silicones that block hydration. The labels tell one story; the chemistry tells another.
Identifying your curl type and porosity
Two characteristics determine which products work for your specific hair: curl pattern and porosity. Knowing both saves you from buying products that fight against your hair instead of working with it.
Curl pattern (the Andre Walker system)
| Type | Description | How it looks |
|---|---|---|
| 2A | Loose waves | Gentle S-shape, easily straightens |
| 2B | Defined waves | More obvious S-shape, some frizz |
| 2C | Wavy with curls | Some defined spiral curls mixed in |
| 3A | Loose curls | Loose spiral, sidewalk-chalk diameter |
| 3B | Springy curls | Tighter spiral, marker-pen diameter |
| 3C | Tight corkscrews | Pencil-diameter spirals, dense |
| 4A | Soft coils | Tight coils, defined S-pattern |
| 4B | Z-pattern coils | Sharp angles, less defined |
| 4C | Tight coils | Densest pattern, can shrink 75%+ |
Porosity (the float test)
Porosity describes how easily moisture enters and exits your hair shaft. Test it: take a clean, product-free strand of hair and drop it in a glass of water. Wait 5 minutes.
- Low porosity — the hair floats on top. Cuticles are tightly closed; products struggle to penetrate. Need lighter products and warm/heated styling to help absorption.
- Medium porosity — the hair floats in the middle. Balanced cuticles. Most products work well. The easiest porosity to care for.
- High porosity — the hair sinks. Cuticles are raised or damaged; absorbs moisture quickly but loses it just as fast. Need heavier products, leave-ins, and sealing oils.
Porosity often matters more than curl pattern for product selection. Two people with identical 3B curls can need completely different products if one is low porosity and the other is high. Test your porosity before buying.
Ingredients to avoid (the "no" list)
The CGM "no" list comes down to three ingredient categories. If you scan a label and see any of these in the first 7 ingredients, skip the product.
Sulfates
Harsh detergents that strip oil from hair. The most common offenders:
- Sodium Lauryl Sulfate (SLS)
- Sodium Laureth Sulfate (SLES)
- Ammonium Lauryl Sulfate
- Ammonium Laureth Sulfate
Sulfates are great at removing dirt — but they also remove the natural oils that curly hair needs to stay moisturized. They're the single biggest reason curly hair feels dry, frizzy, and unmanageable.
Silicones (most types)
Silicones coat the hair shaft and create a temporarily smooth feel — but they build up over time and prevent water from getting into the hair. Curly hair becomes increasingly dry beneath the silicone coating.
Common ones to avoid:
- Dimethicone
- Cyclopentasiloxane
- Cyclomethicone
- Most ingredients ending in -cone, -conol, or -xane
The exception: water-soluble silicones (those starting with PEG- or with names like Dimethicone Copolyol) wash out with regular conditioner and don't build up. These are CGM-approved.
Drying alcohols
Short-chain alcohols evaporate quickly and pull moisture from hair as they leave. Common drying alcohols:
- SD Alcohol
- Alcohol Denat
- Isopropyl Alcohol
- Propanol
The exception: fatty alcohols (Cetyl Alcohol, Cetearyl Alcohol, Stearyl Alcohol) are completely different molecules. They're moisturizing and CGM-friendly despite the name.
Don't get paranoid about ingredients in trace amounts at the bottom of the label. The first 7 ingredients account for 80–90% of any formula. Focus your screening there.
The complete CGM routine, step by step
This is what a full wash day looks like. Don't worry about doing all of it perfectly the first time — the routine becomes second nature within 2–3 weeks.
Step 1: Final wash with clarifying shampoo
Before starting CGM, do one "final wash" with a CGM-approved clarifying shampoo (sulfate-free but strong enough to remove silicone buildup). This strips the silicones from your hair so it can start absorbing moisture properly.
Skip this step only if you've never used silicone-based products.
Step 2: Cleanse (co-wash or sulfate-free cleanser)
From now on, use one of two options 1–3 times per week:
- Co-wash (cleansing conditioner) — gentle, leaves more moisture, ideal for tight curls
- Sulfate-free shampoo — slightly more cleansing, ideal for waves and looser curls
Apply only to the scalp. Don't scrub the lengths — your curls clean themselves as cleanser rinses through them. Massage the scalp for 60 seconds, then rinse.
Step 3: Condition deeply
Apply a generous amount of CGM-approved conditioner to your hair. Focus on the lengths and ends, not the scalp. Leave it on for 3–5 minutes minimum.
While the conditioner is working, finger-detangle in the shower. Start at the ends and work upward in sections. Never use a brush in the shower or on dry curly hair. A wide-tooth comb or your fingers only.
For very dry or damaged hair, leave the conditioner in for 10–15 minutes once a week as a deep conditioning treatment.
Step 4: Squish to condish (optional but powerful)
Before rinsing the conditioner out, lean over and "squish" handfuls of water and conditioner up into your hair. This forces water into the hair shaft and dramatically improves moisture absorption.
Rinse only some of the conditioner out — leave a little behind to weigh curls down slightly and reduce frizz.
Step 5: Apply leave-in (optional, on soaking-wet hair)
If your hair is high porosity or particularly dry, apply a leave-in conditioner to soaking-wet hair. Smooth it through with hands, then squish.
Step 6: Apply curl cream
To soaking-wet hair (still dripping), apply a curl-defining cream. Use the "praying hands" technique: smooth the cream over each section of hair like you're praying with hair between your palms. Then "scrunch" by cupping your hand under sections of hair and squeezing upward toward your scalp.
Step 7: Apply gel
Layer a curl gel over the cream using the same praying hands and scrunching technique. The gel forms a "cast" around your curls that locks in definition while drying.
You'll know you've used enough when your hair feels coated and slightly wet-looking, but not gloopy.
Step 8: Plop (or air dry)
"Plopping" is wrapping your wet hair in a microfiber towel or cotton t-shirt for 15–30 minutes. This absorbs excess water without disrupting curl shape, and helps curls dry in their natural pattern instead of stretching out.
If you don't plop, gently squeeze excess water with a microfiber towel — never rub.
Step 9: Dry
Two options:
- Air dry — most damage-free, but can take 4+ hours for thick hair
- Diffuse — use a hair dryer with diffuser attachment on low heat, low speed. Cup curls in the diffuser and "hover" rather than moving constantly
Don't touch your hair while it's drying. Touching disrupts the curl pattern and creates frizz.
Step 10: Scrunch out the crunch (SOTC)
Once your hair is 100% dry, your curls will have a "gel cast" — a slightly crunchy coating from the gel. This is normal and good (it means the gel did its job).
To break the cast, rub a small amount of light oil (jojoba, argan) between your palms and gently scrunch your curls. The crunch breaks, revealing soft, defined curls underneath.
What products you actually need
The CGM minimum starter kit is just 4 products:
- Sulfate-free shampoo or co-wash — for cleansing
- Curl-friendly conditioner — for moisture and detangling
- Curl cream — for definition and softness
- Curl gel — for hold and frizz control
That's it. You don't need a 10-product routine. People with simple, effective routines often have better hair than people with elaborate ones.
Optional add-ons (after you've got the basics down)
- Leave-in conditioner — for high porosity or very dry hair
- Deep conditioning mask — once weekly
- Light oil (jojoba, argan, grapeseed) — for SOTC and refresh days
- Clarifying shampoo — once every 4–6 weeks for buildup
- Microfiber towel or cotton t-shirt — for plopping
- Silk or satin pillowcase — for nighttime curl preservation
The transition phase (and why hair looks worse first)
One of the most common reasons people quit CGM in week 2 is that their hair temporarily looks worse. This is the "transition phase" — and it happens for predictable reasons.
Weeks 1–2: Your hair is shedding silicone buildup. Without the silicone "smoothing" effect, you're seeing your real texture for the first time in months or years. It often looks frizzy, dry, or undefined because the hair underneath was actually damaged — the silicone was just hiding it.
Weeks 3–4: Your hair adjusts. Moisture starts actually penetrating the shaft. Curls begin defining themselves. You may notice frizz reducing.
Weeks 5–6: Visible curl pattern emerges. Hair feels softer. Less frizz. Length retention improves.
Weeks 8+: Most people see dramatic improvement by this point. Some discover their hair is curlier than they realized.
If you give up at week 2, you'll never see the benefits. The transition is genuinely uncomfortable, but it's temporary. The people who succeed with CGM are the ones who push through the awkward early phase.
Troubleshooting common issues
| Problem | Likely cause | Fix |
|---|---|---|
| Frizz that won't go away | Not enough moisture, or touching hair while drying | Use more conditioner, plop longer, don't touch wet hair |
| Limp, weighed-down curls | Too much product, or product too heavy for your hair | Use less, switch to a lighter formula |
| Curls undefined or stretched out | Applied product to hair that wasn't wet enough | Apply to soaking-wet hair only |
| White flakes or residue | Product didn't fully absorb (often mixing certain creams and gels) | Use less product, or clarify and start fresh |
| Crunchy hair that doesn't soften | Skipped SOTC, or used too much gel | Always SOTC once 100% dry, reduce gel amount |
| Hair feels dry no matter what | Likely high porosity needing heavier products | Add leave-in, sealing oil, and weekly deep conditioning |
| Hair feels greasy or coated | Likely low porosity or buildup | Use lighter products, clarify with sulfate-free clarifier |
| Curl pattern inconsistent | Heat damage from prior styling | Time. Damaged hair won't curl until it grows out. Trim regularly. |
Long-term maintenance
Once you're past the transition phase, the CGM routine becomes faster and easier. A few habits keep results consistent long-term:
Sleeping on silk or satin
Cotton pillowcases create friction that causes overnight frizz and breakage. Switch to silk or satin pillowcases — or wear a silk/satin bonnet — and your morning hair will be dramatically more defined.
Refresh days (between wash days)
You don't need to fully wash every day. On non-wash days, refresh curls by:
- Spraying water onto curls
- Adding a small amount of leave-in or curl cream
- Scrunching upward to reactivate definition
Most people only need to do a full wash 1–3 times per week.
Pineapple at night
For longer curly hair, gather all your hair loosely on top of your head in a high ponytail (called a "pineapple"). This protects the curl pattern overnight and reduces flattening.
Trim regularly
Curly hair shows damage faster than straight hair. Trim every 8–12 weeks to remove split ends. Use a curly-trained stylist if possible — they cut hair while it's curly and dry, which produces dramatically better results than wet straight cuts.
The bottom line: The Curly Girl Method works because it treats curly hair as the structurally different thing it is, not as straight hair to be tamed. Skip sulfates, silicones, and heat. Cleanse gently, condition heavily, apply products to soaking-wet hair, scrunch instead of brushing, and don't touch your hair while it dries. Give it 6–8 weeks before judging — the transition is real, but so is the result.